Create a new page

Page Types
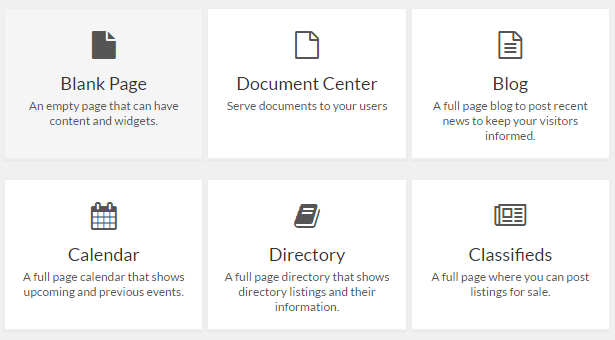
Every page in nimble has a type. You can find descriptions of what each page type is for underneath its title:
- Blank Page – An empty page that can have content and widgets.
- Document Center – Serve documents to your users.
- Blog – A full page blog to post recent news to keep your visitors informed.
- Calendar – A full page calendar that shows upcoming and previous events.
- Directory – A full page directory that shows directory listings and their information.
- Classifieds – A full page where you can post listings for sale.
The most commonly selected page is a Blank Page, as it allows any type of widget and is the most versatile page type.
Page Settings
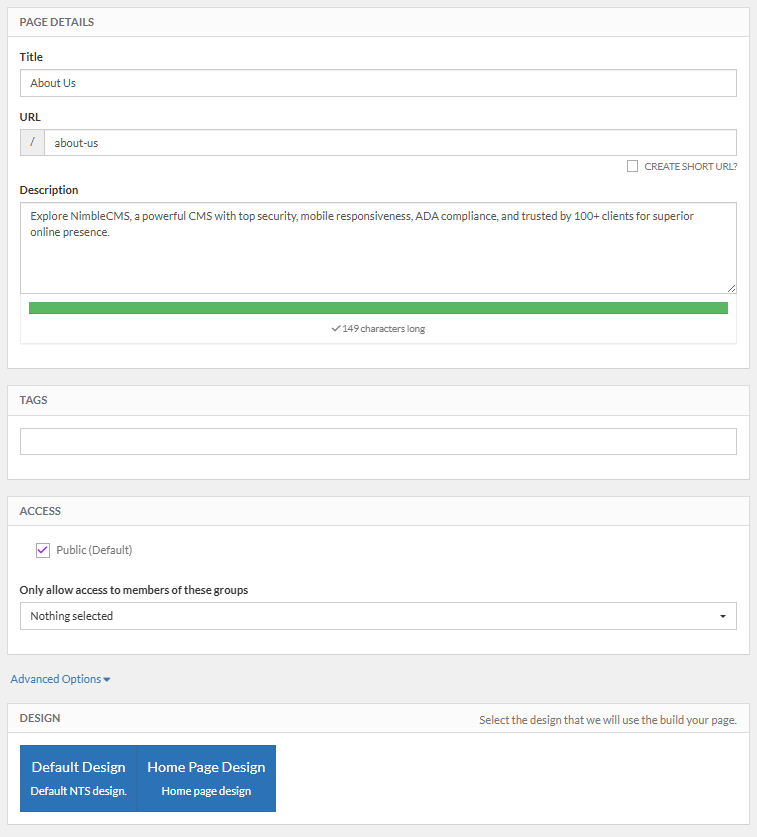
Here you can configure the page settings.
- Page Title
- The page’s title is what will be displayed in navigation, breadcrumbs, user history, and at the top of the browser window with a user visits a page. It is also the name that will show up in Google search results.
- URL and Short URL
- Many user’s first interaction with your page will be via the URL,
If the page you are creating is a sub-page of parent pages you can add a “Short URL” which can be used for marketing purposes. So instead of creating an ad that directs users to the direct url of “nimblecms.com/learn/creating-your-first-page,” with a short URL of your choice (eg: “firstpage”) you can direct users to “nimblecms.com/firstpage” and it will direct them to this page.
URLs should be short and simple, but descriptive.
- Many user’s first interaction with your page will be via the URL,
- Page Description
- Internet search services such as Google and Bing will use your site description to help people find your site. The longer your page description, the easier your page will be able to be found.
- Tags
- Tags are related to Nimble only, not to search engines.Tags are primarily used in directories, blogs, classifieds and calendars. You do not have to put tags in your page settings.
- Access
- The Access section allows you to control who can see certain pages on your website. If you have a page (like a directory of staff that you don’t want public, or a page for customers that requires a login) you can create a user group and then set the access of pages to only allow access to specific groups.
- Advanced Options
- Under “Advanced Options” you have access to specify a Meta Title and Meta Keywords to enhance search engine optimization. While search engines no longer prioritize keywords due to irrelevant keywords being used in the past, they are still taken into account and can help boost your site in the search ranks. You also have the ability to add code to the Header and Footer of your pages. This is often where Google tracking pixels will be placed for marketing for specific pages. If you are unfamiliar with this or unsure, please contact us to assist. Placing incorrectly structured code in this space can alter the look or function of your page.
- Design
- Select the page design. Typically you will have a Home Page design and a Default Page design; your particular site may have more. Select the design that you want for your page.
Once you have entered this basic information, click the ‘Create Page’ button.
Page Builder
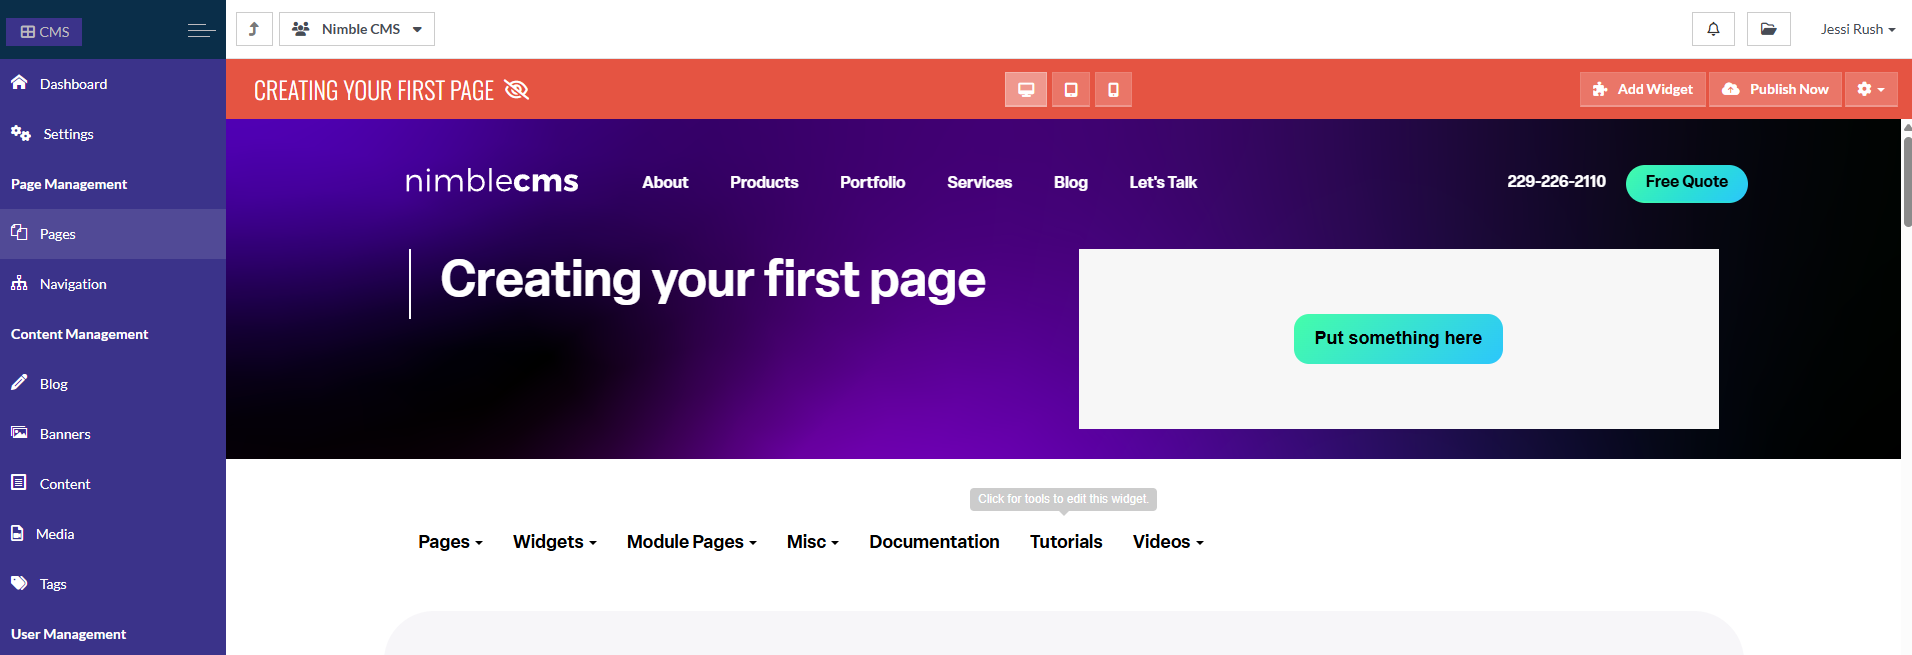
Welcome to the Page Builder. Notice that the bar at the top is red. This means that your page is not published yet. This means only you, or any other admin who is logged in, can see it. Clicking the ‘Publish Now’ button will make your page accessable to the outside world. It will also make the page visible in navigation items if you have added the page to one.
Areas with a green ‘Put Something Here’ button are fixed blocks that are part of the design. Widgets put in these blocks will be inherited by sub pages.If you leave that block empty, it will be hidden to users when they visit your site.
Now its time to add your first widget. Click the  button in the top right corner of Page Builder.
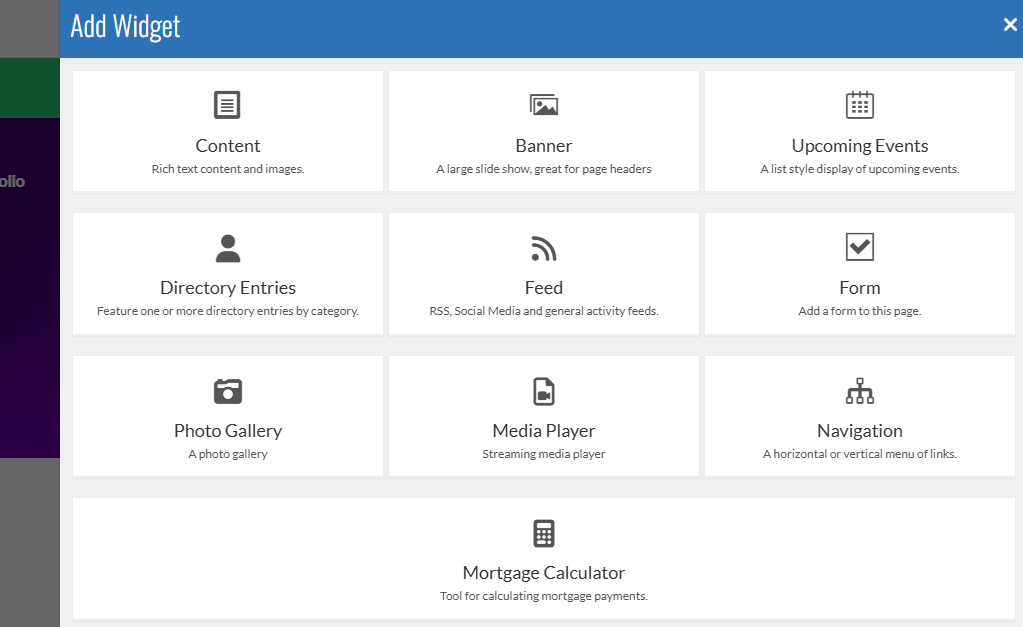
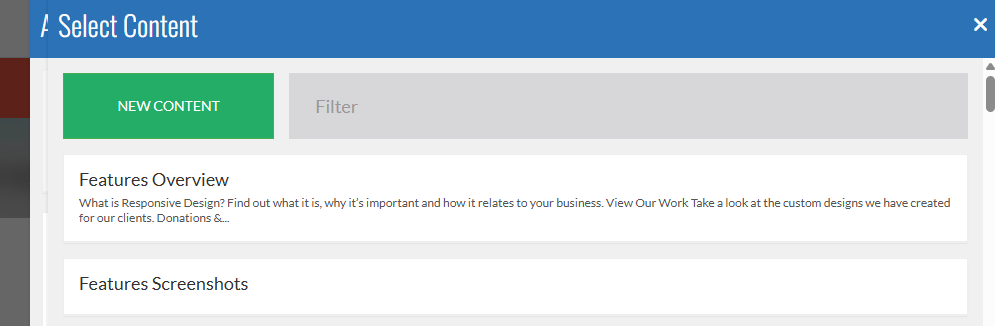
You may notice that you already have some content items to choose. These are basic items that come with every site to help you get started. Lets create our first new Content item. Click ‘New Content’.
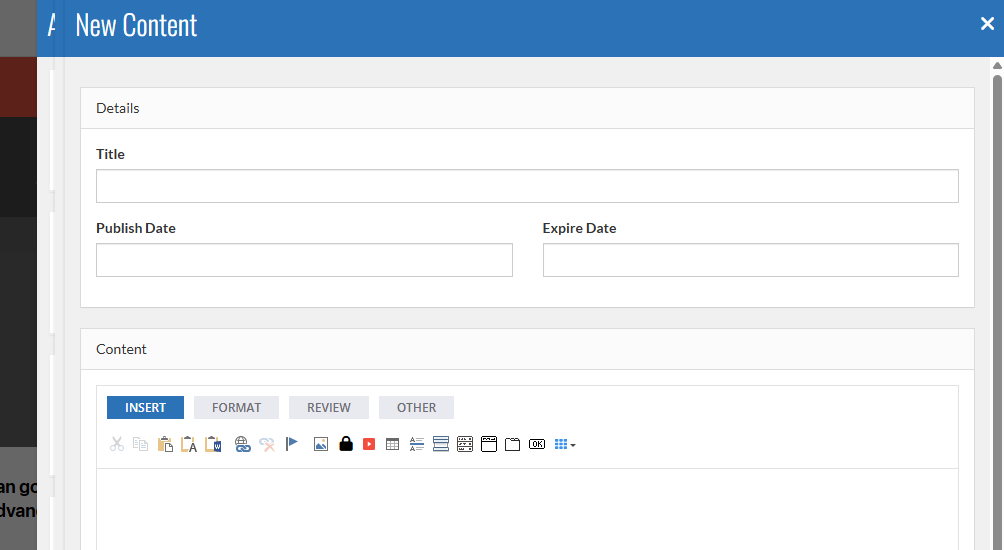
Your new content item will need a title, while publish and expiry dates are optional. Publish and expiry dates allow you to have a content item automatically publish to or expire/remove itself from a page. It is best practice to manually remove widgets from pages when you no longer want them, and to delete any content items that will not be re-used, but if you are going on vacation or need certain content to publish or expire over the holidays, these publishing options can save you from having to login to publish time-sensitive information while out of the office.
Editing content is just like working with Microsoft Word. You can go to the ‘Insert’ tab to insert images and more. The ‘Format’ tab is for styling and aranging text. Review is for spellcheck and more, and Other is for the more advanced users. Other has advanced features like the Source Code editor to allow you to have full control.
Scroll Down and you will find a  button. When you click the button, all of the menus will collapse and you will see your content on the page!. Now we just need to publish the page so other people can see it. Click
  to publish the page.
Now that your page is published, the Page Builder toolbar will turn green so that you know the page is live.
(If you make changes to your page settings in the future the bar will appear yellow. This means that changes have been made to a page that is live, but those changes are not yet published.)
Now lets see what the page looks like to the outside world. Click the gear icon in the top right corner to get the page settings menu.
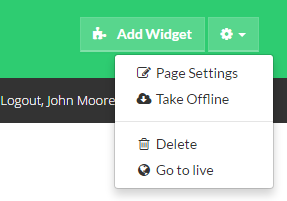
Here you can change your page settings, unpublish the page, delete the page, and see what the page looks like to the outside world. Click the ‘Go to live’ button.
Congratulations, you have created your first page!